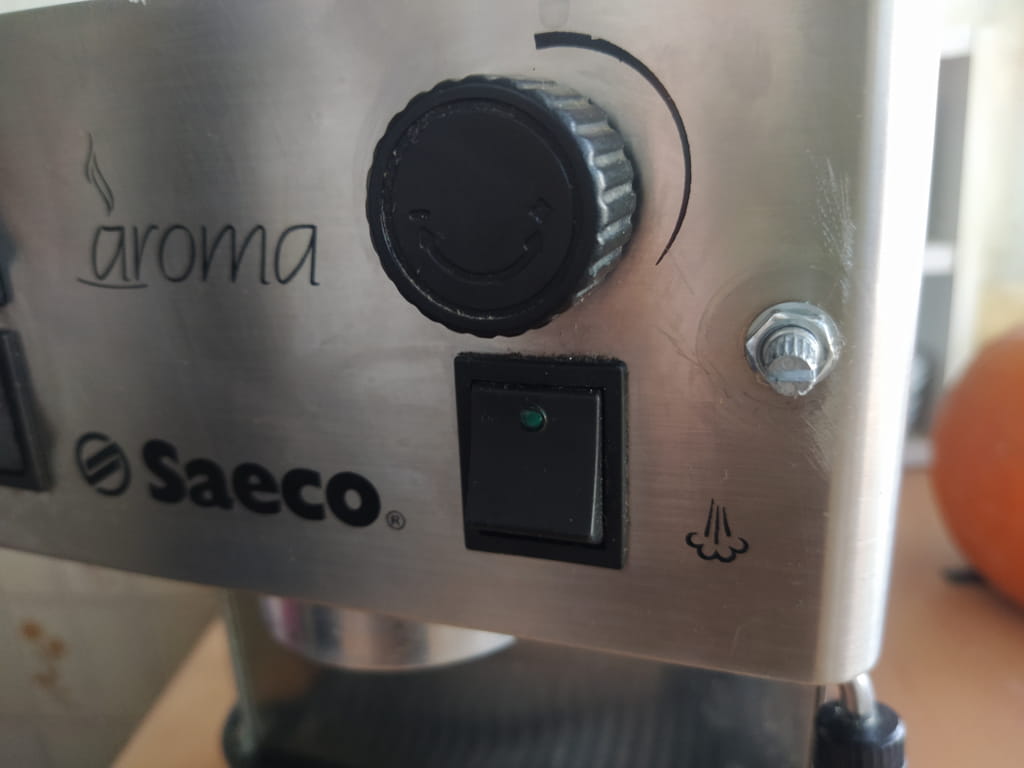
An espresso machine isn’t really an espresso machine without PID nowadays so installing one seemed the next logical step. It helped a lot knowing about the exact brewing temperature. The stock temperature sensor does nothing but cuts the heating once 96°C is reached.
The problem is that although the heating element doesn’t receive any electricity, its residual heat is still warming up the water. It also doesn’t help that the boiler is a stainless steel one and doesn’t transfer heat quickly enough to the sensor on top of it. As a result we end up with a water that is 120°C instead of the desired range of 86°C – 96°C
Installing a PID won’t really solve the shortcomings of the boiler but it gives us some feedback about the process so at least we can have an idea about what’s going on and do something about it.
Stuffs
- PID – https://a.aliexpress.com/_ExhLsH9
- SSR – https://a.aliexpress.com/_EHLdbwx
- Thermocouple – https://a.aliexpress.com/_EvZ4EMx
- Voltage Regulator – https://a.aliexpress.com/_EzdPDkJ
- Thermal paste – Arctic MX4
Process
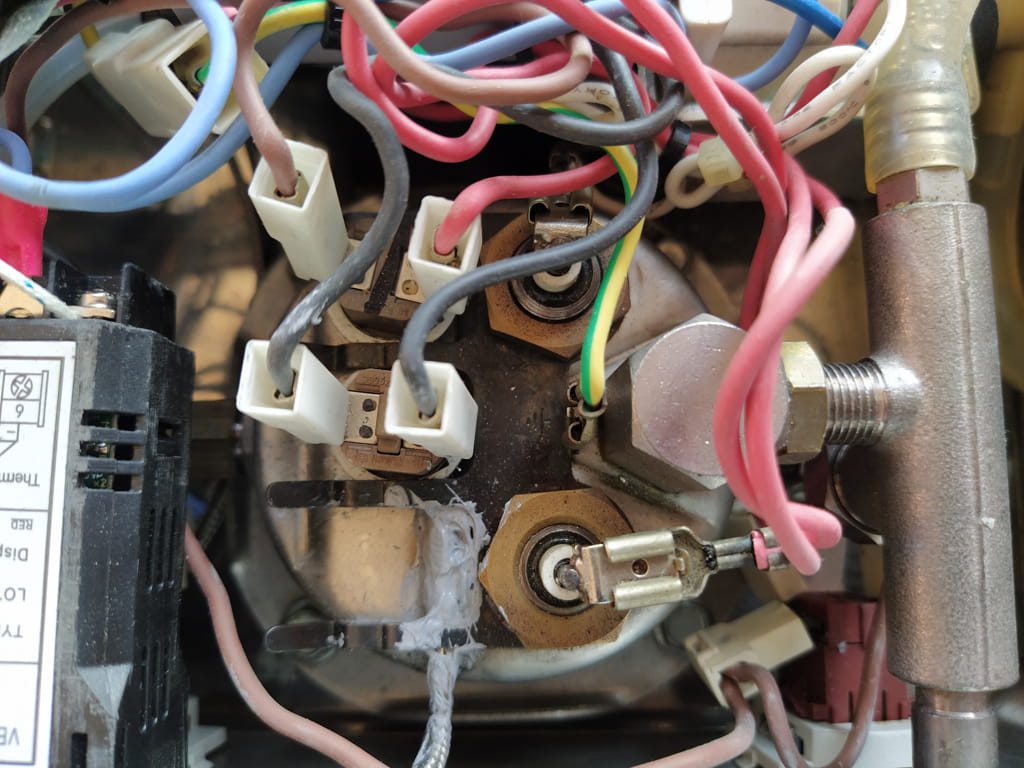
- Remove the built in temperature sensor and apply thermal paste on its place.

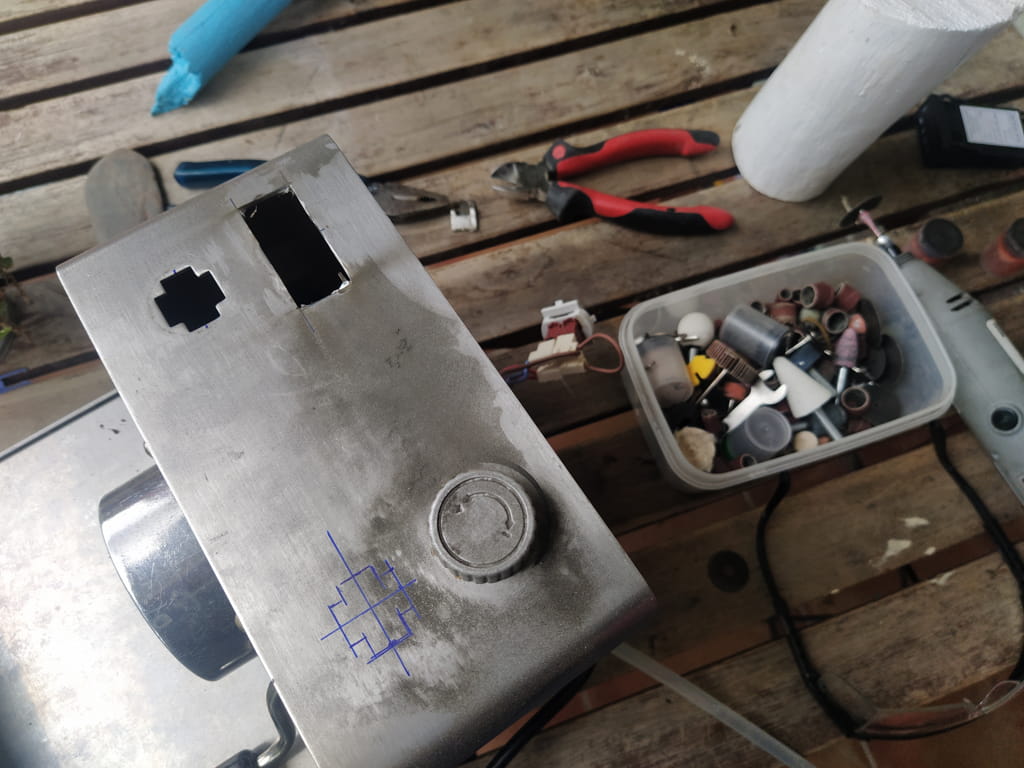
- Cut the opening for the PID. More sensible humans just place it next to the machine in a neat box. This machine wasn’t that privileged.
- Although this particular supposed to work without a relay, in practice it did not.
- After a couple of hours of cutting, filing and placing order for a new PID with a relay everything came together. Pressure gauge and bottomless portafilter is next.
- It turned out that adding a pressure gauge has very little practical use so it was skipped. A voltage regulator to adjust the flow was added so the need for overflow valve was rendered null.
End results
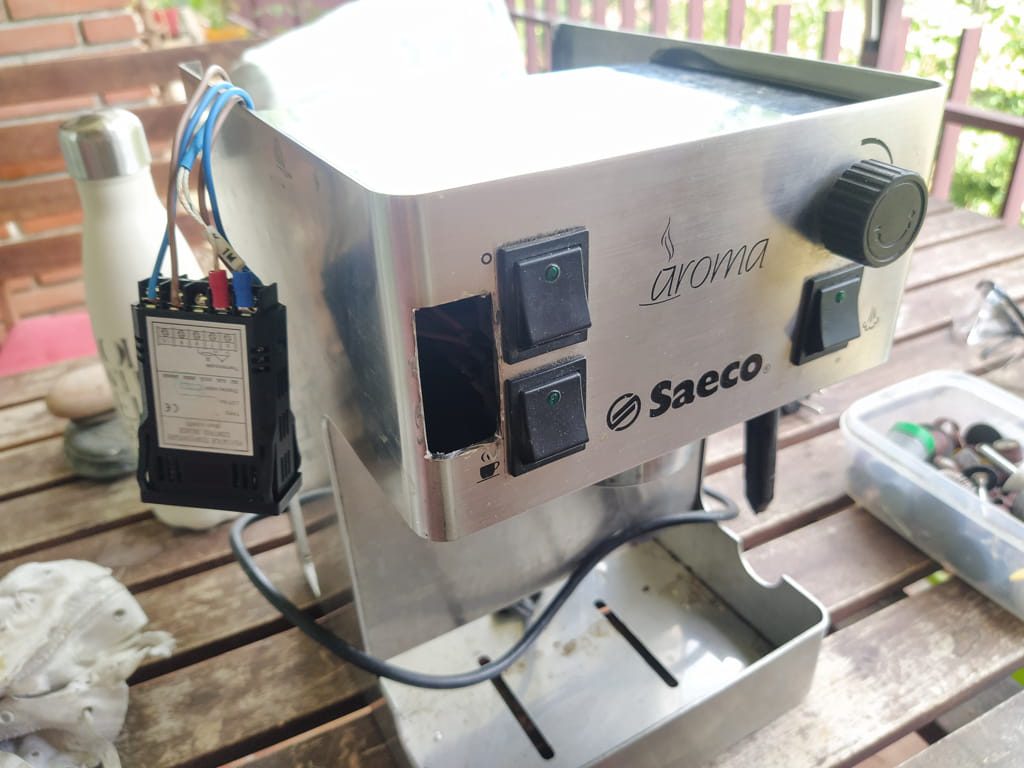
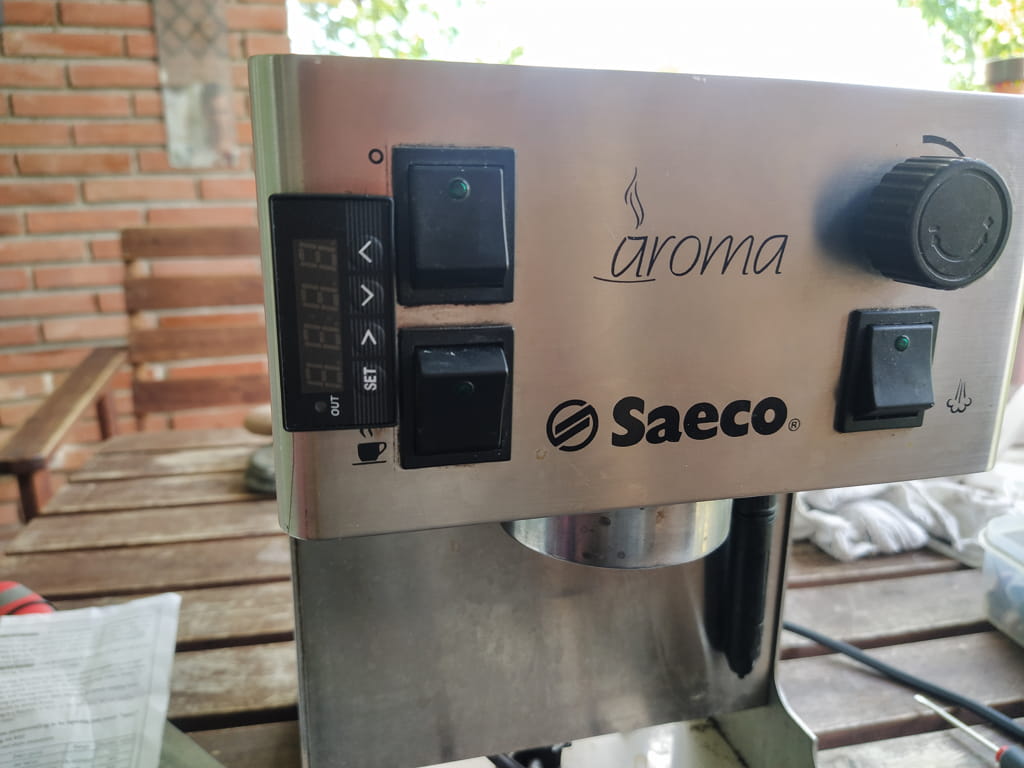
Saeco Aroma – Second Generation
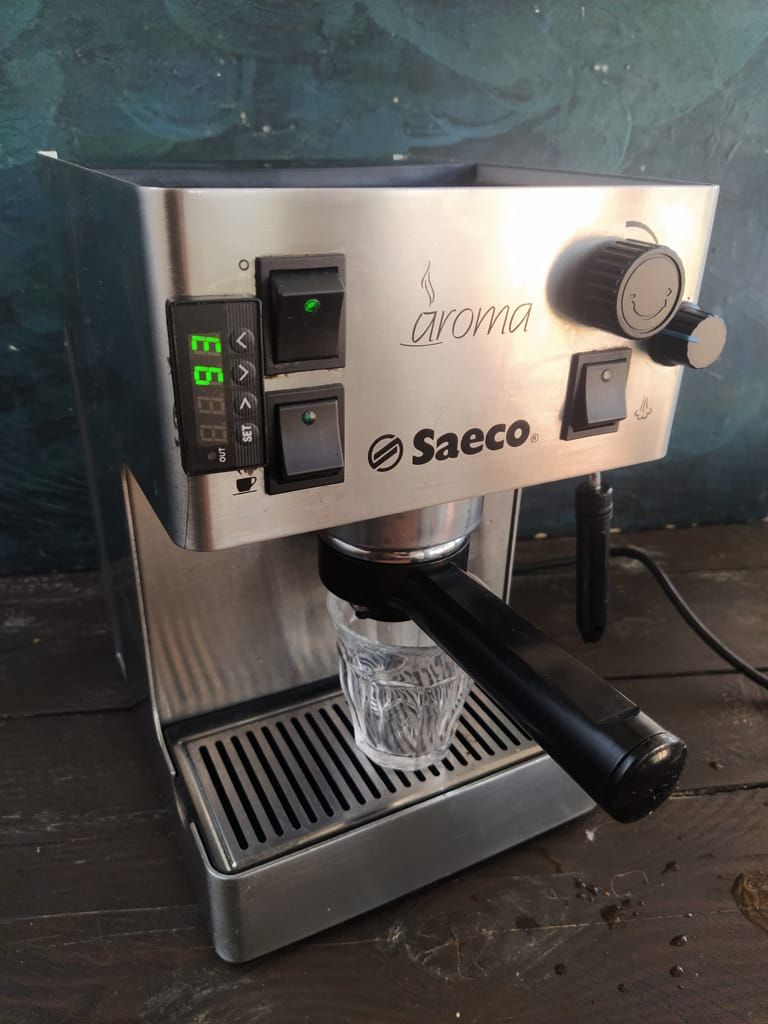
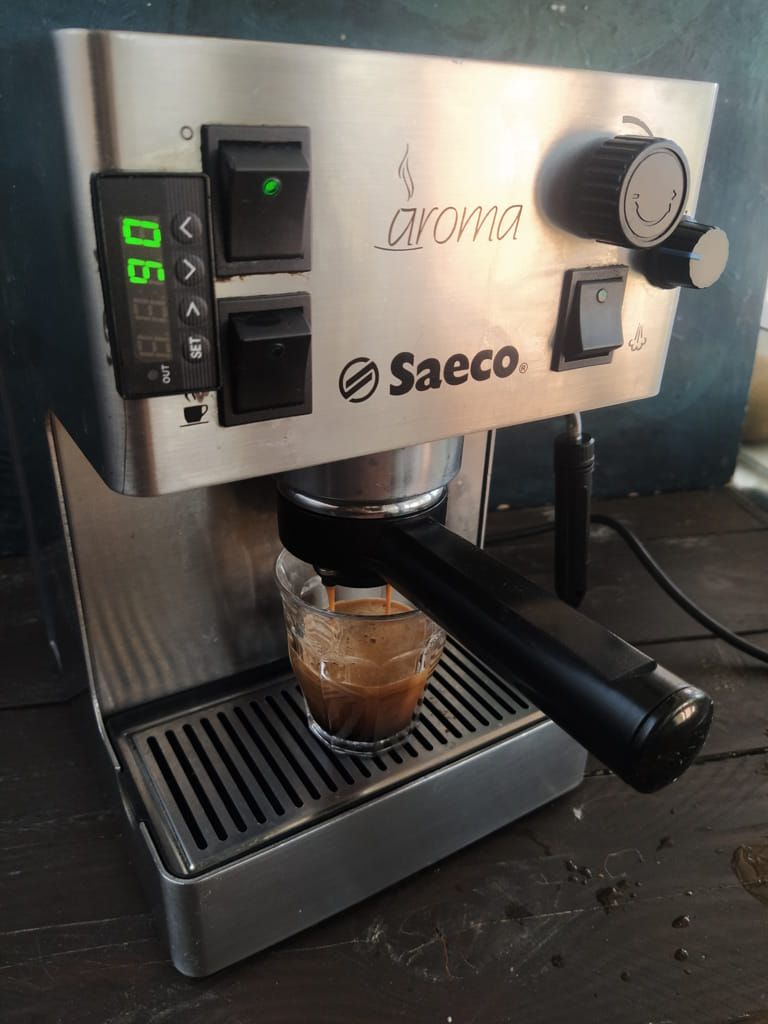
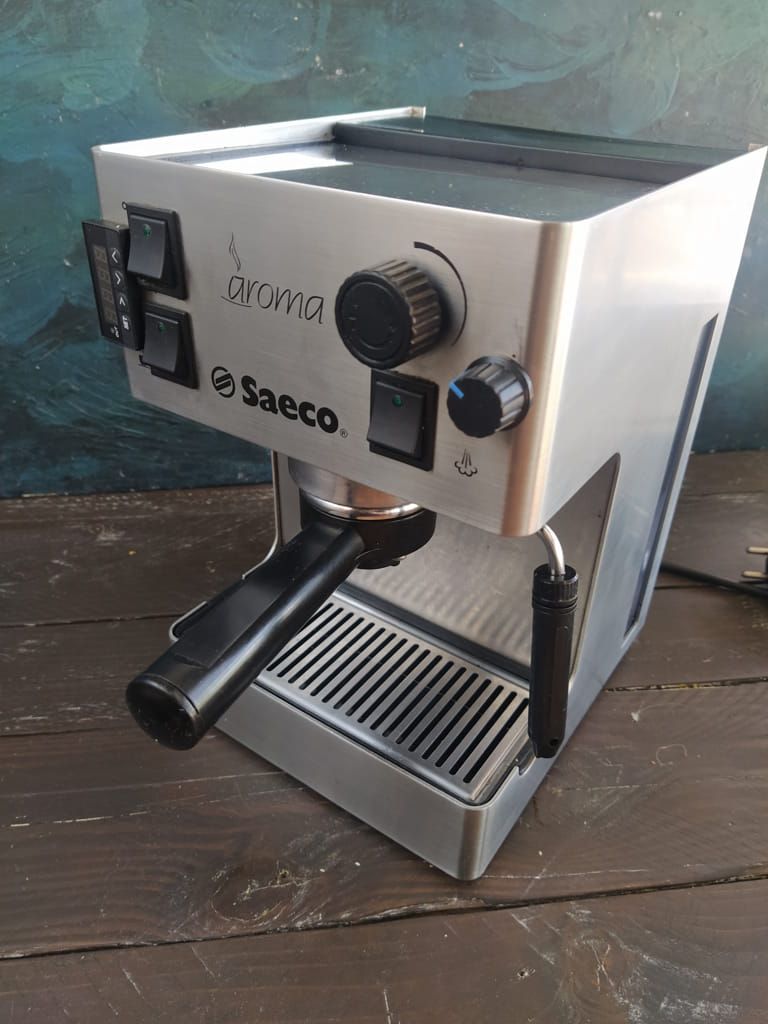
Newer Saeco Aroma models have different buttons and can be modified a bit differently. After a bit of measuring and marking it only needs some cutting and filing to get the right sized holes for the buttons and PID.
 Installing the PID with the K-type thermocouple is a breeze. The EEEE on the display below means ERROR the thermocouple is not connected. If the thermocouple is indeed connected then it means the thermocouple itself is faulty. Which was the case in this instance too…
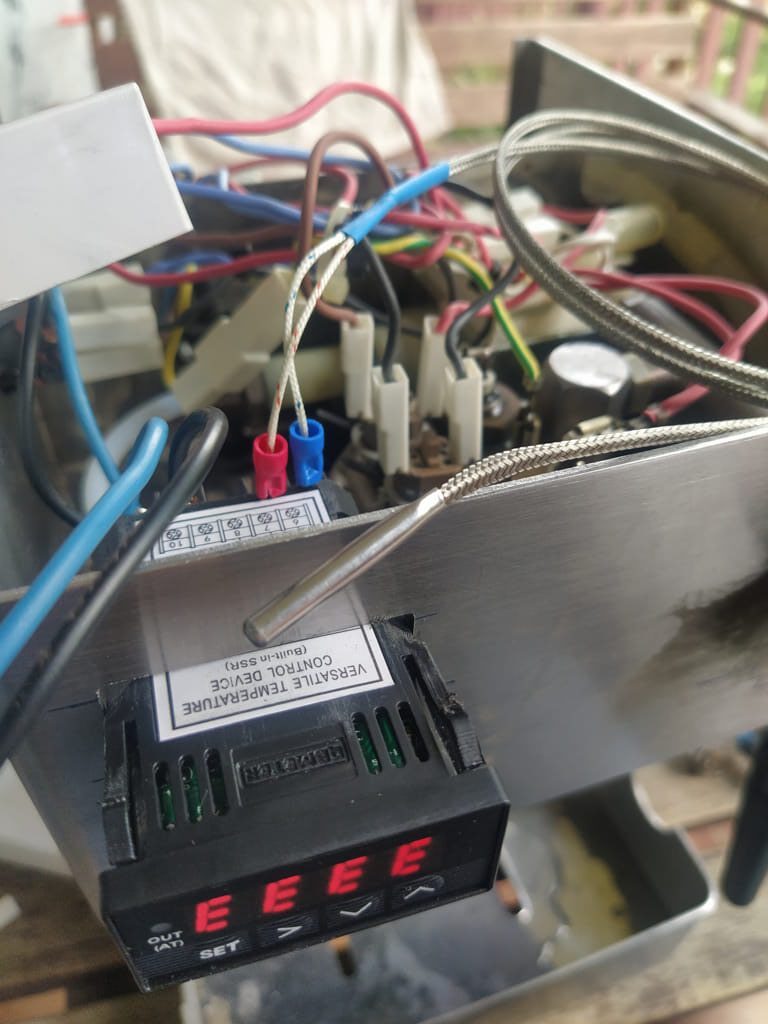
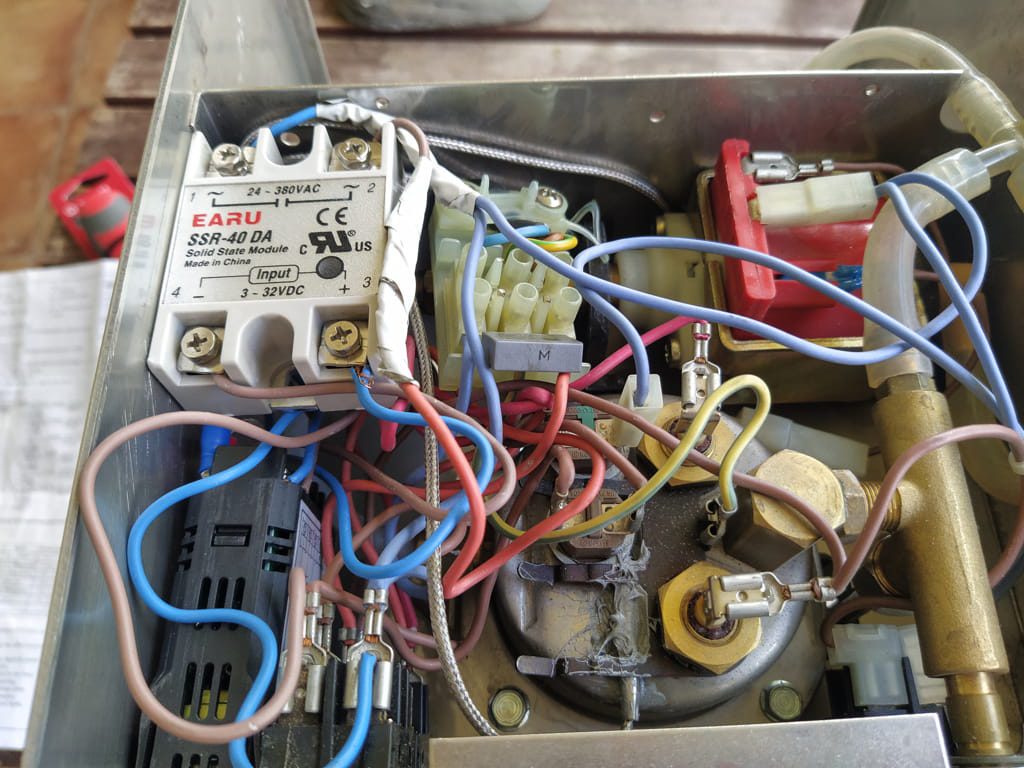
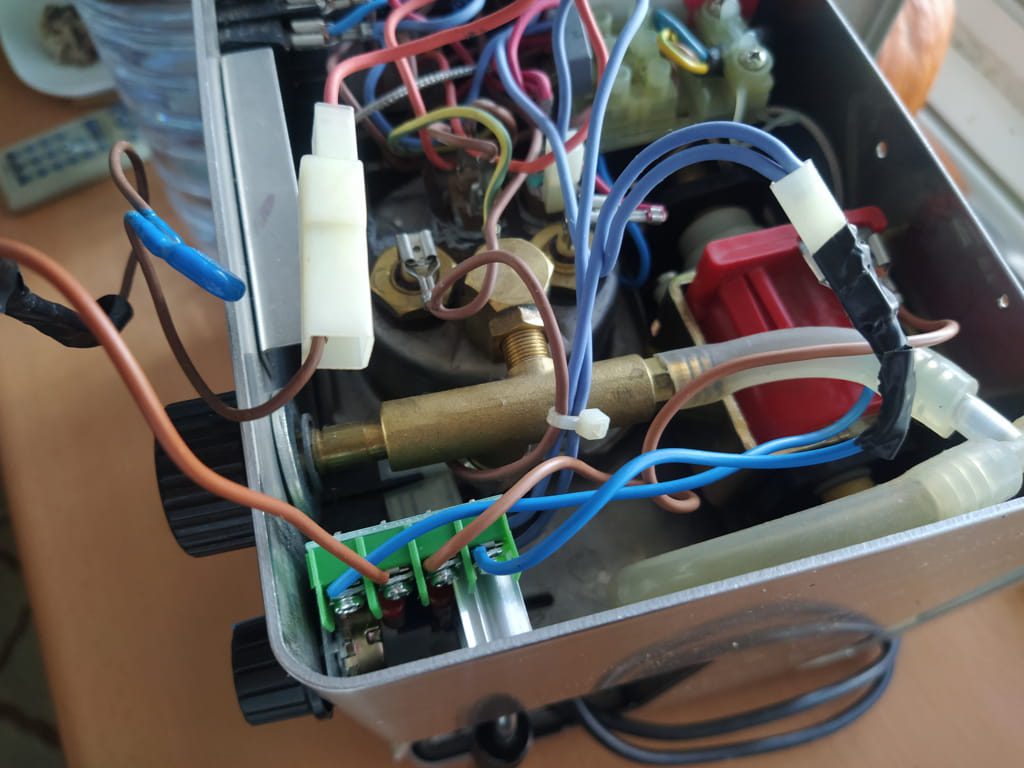
Adding an SSR shouldn’t be strictly necessary if the PID has it built in but using a 40A external one is highly recommended so if something nefarious happens only the SSR needs replacement.
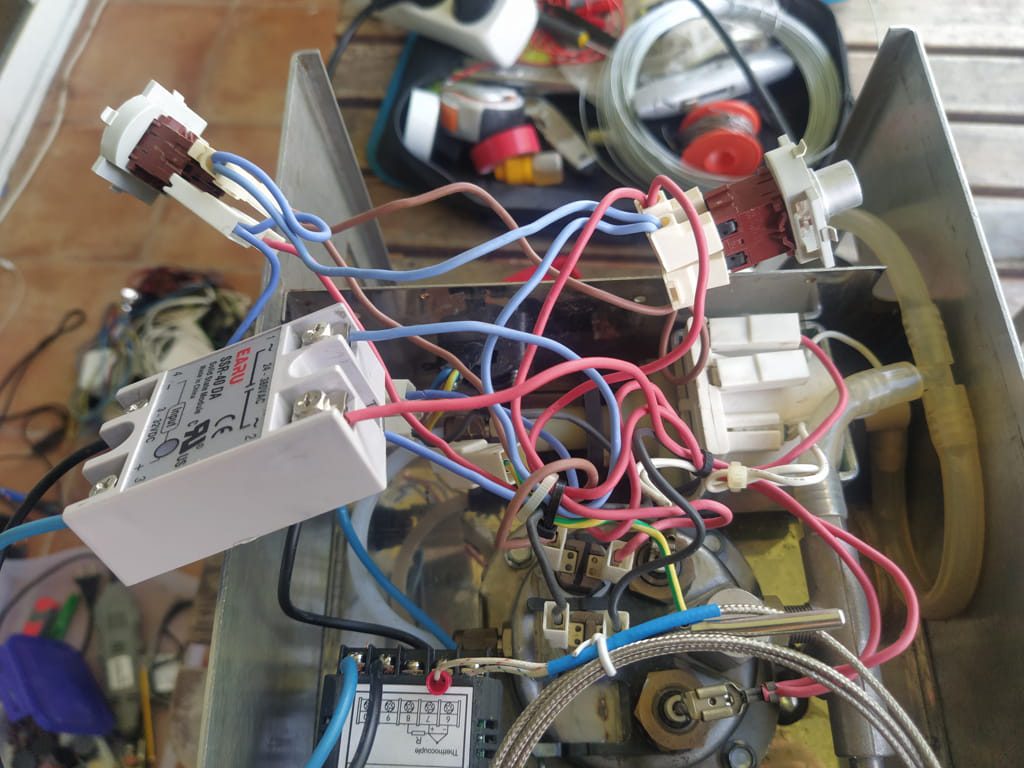 The SSR can be seated nicely at the back of the coffee machine nicely. Insulating the connectors is more than recommended!
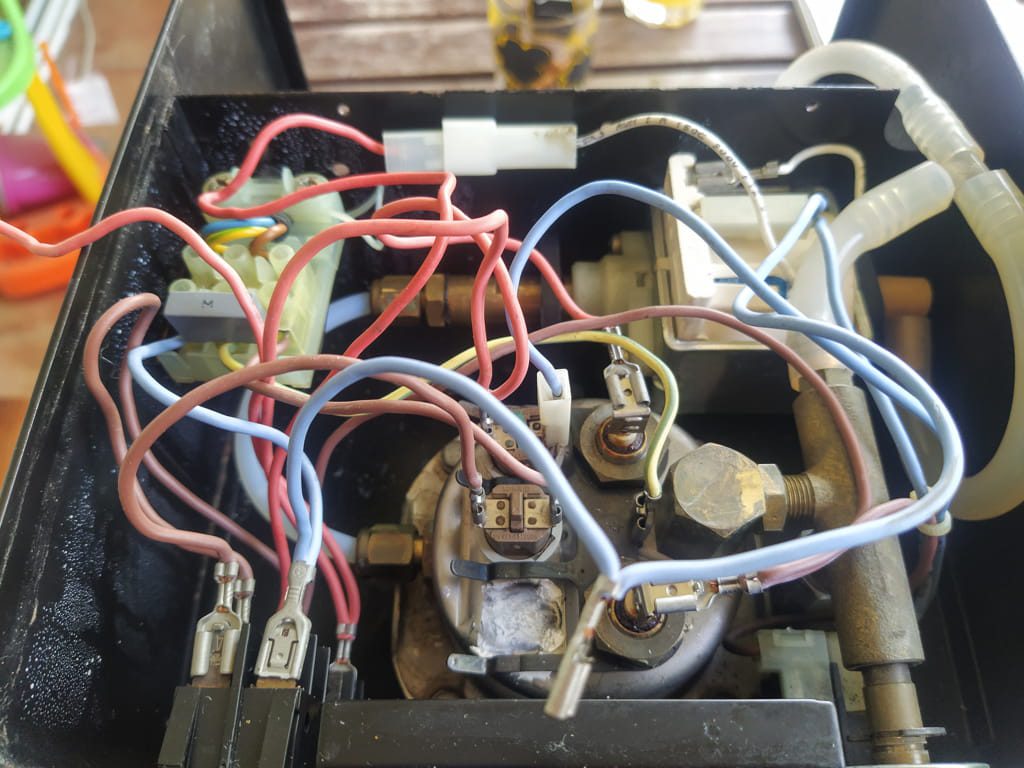
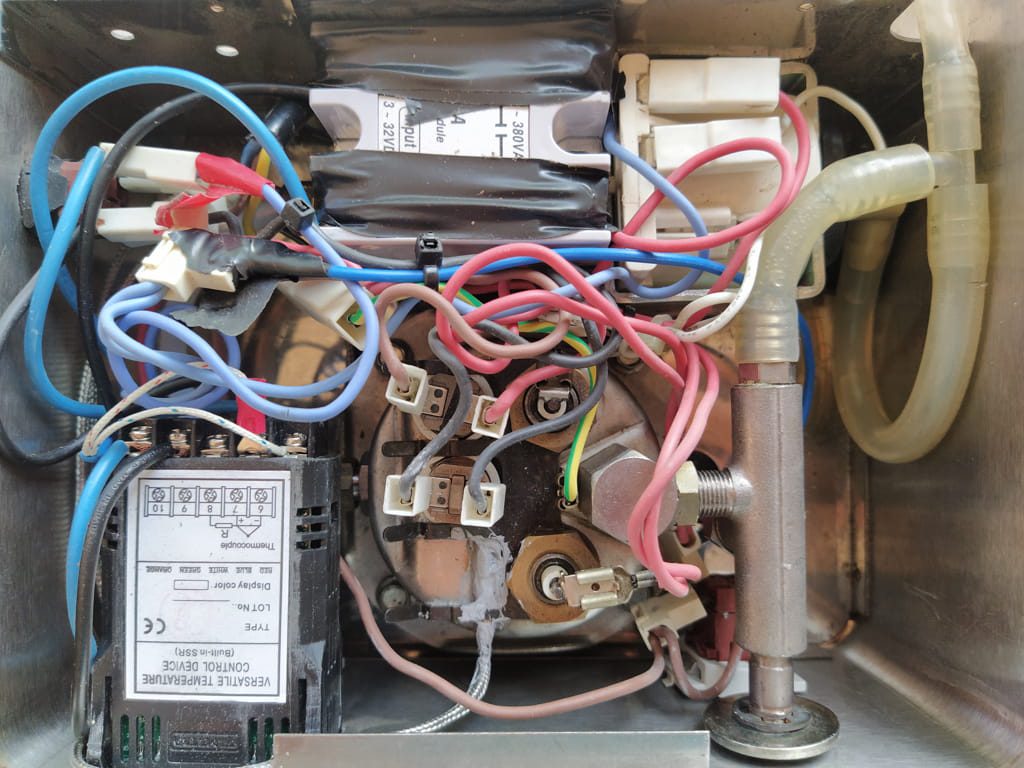 The newly installed terminals of the steam switch needs to be bent in order to connect the old cables but works just right. Also the cables aren’t long enough to run with the rest of the bunch.
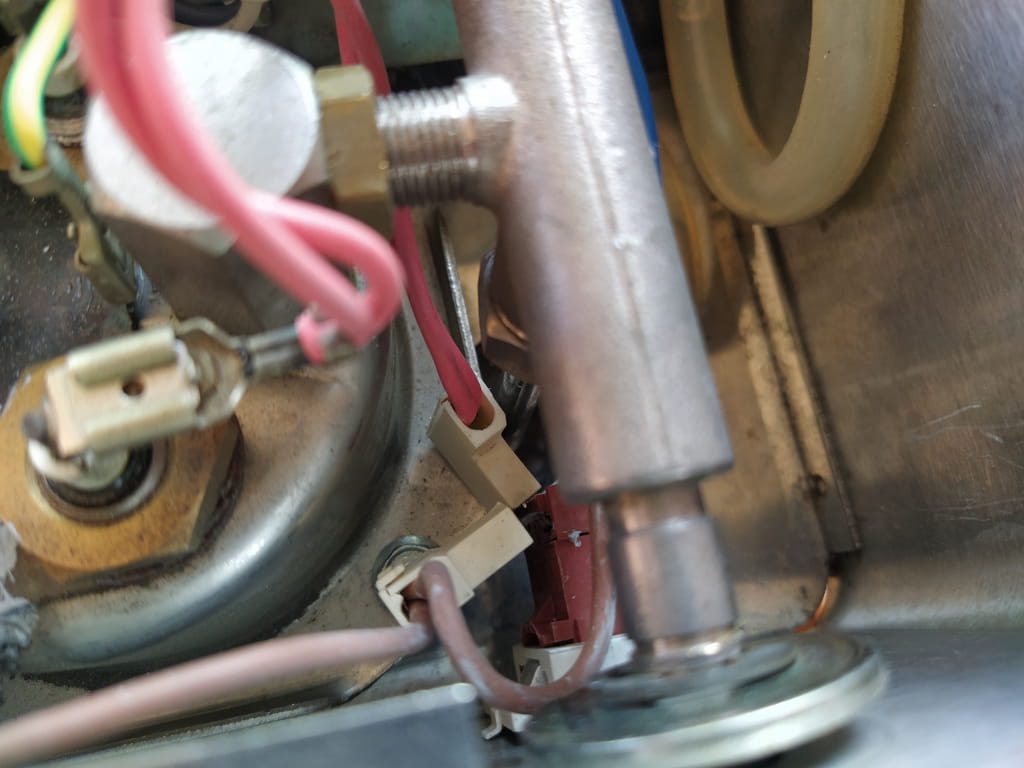
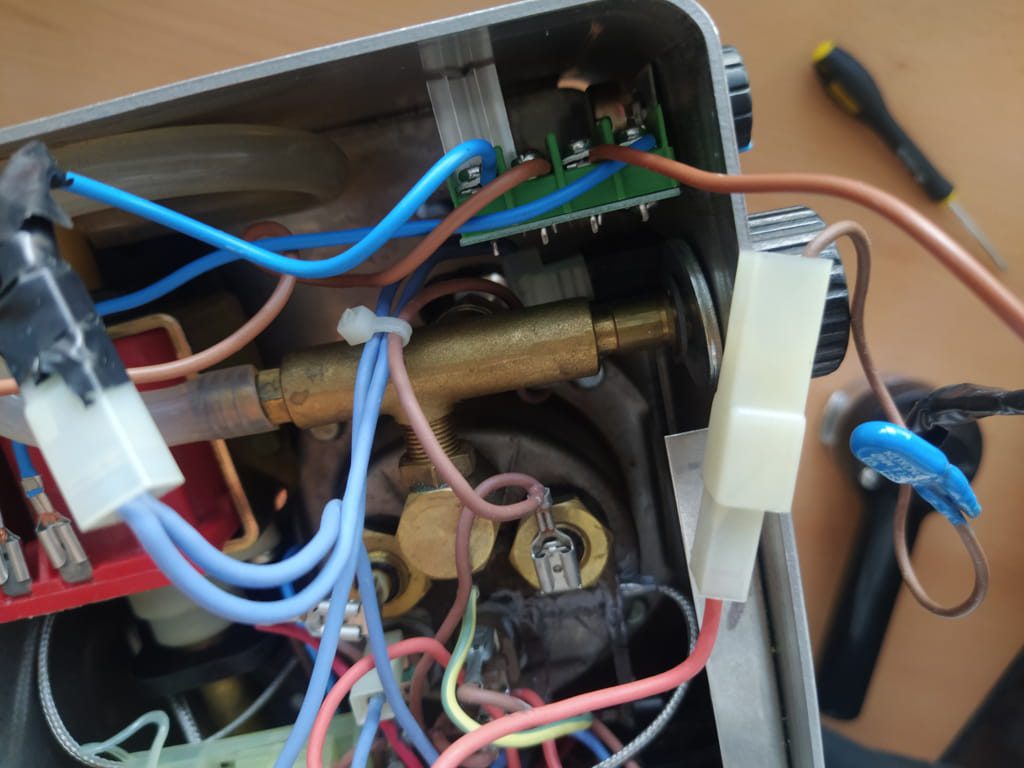
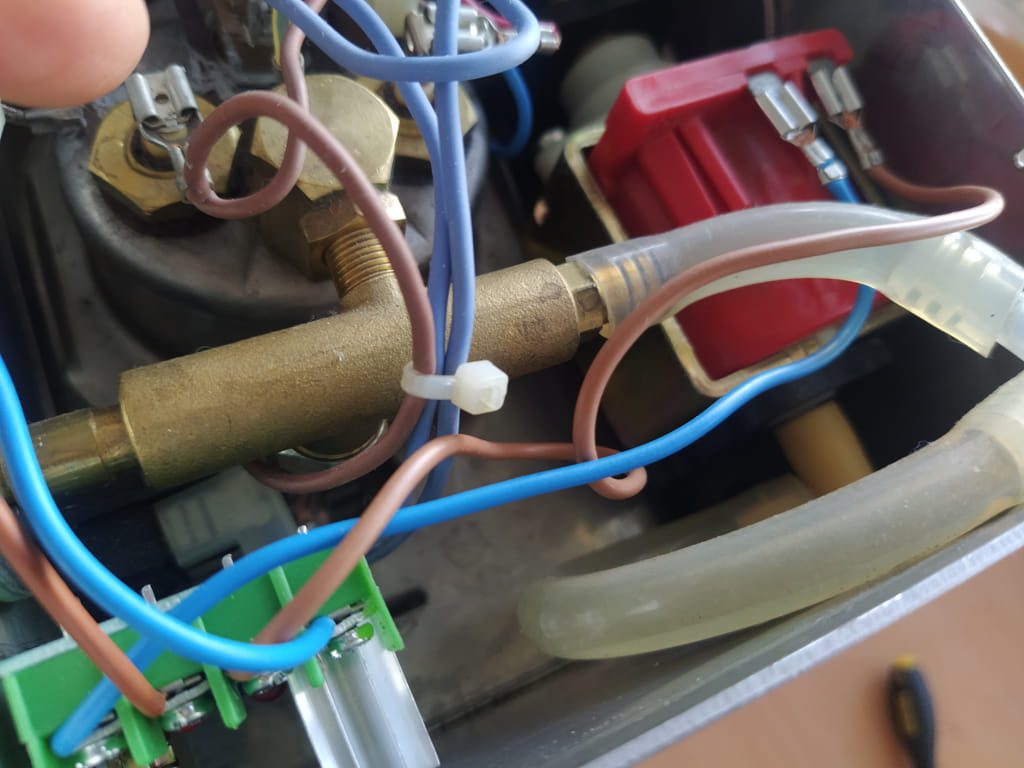
The other side doesn’t need any bending and allows just enough space for the connection.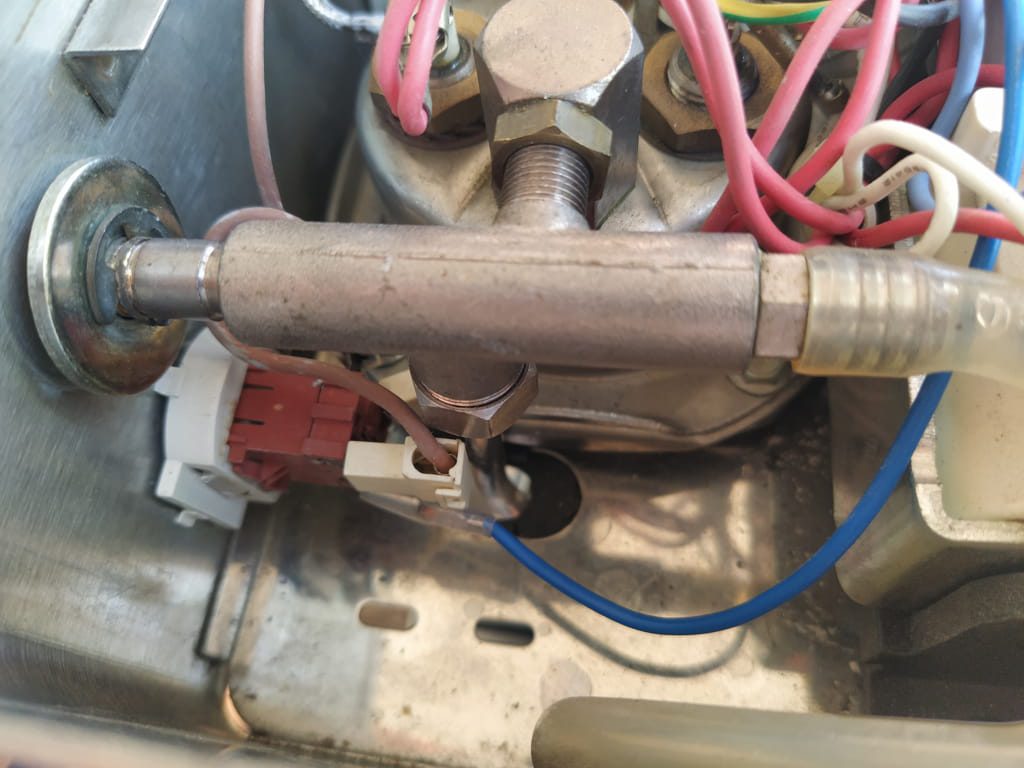 Make sure the thermo couple gets enough thermo paste.